Table of Contents
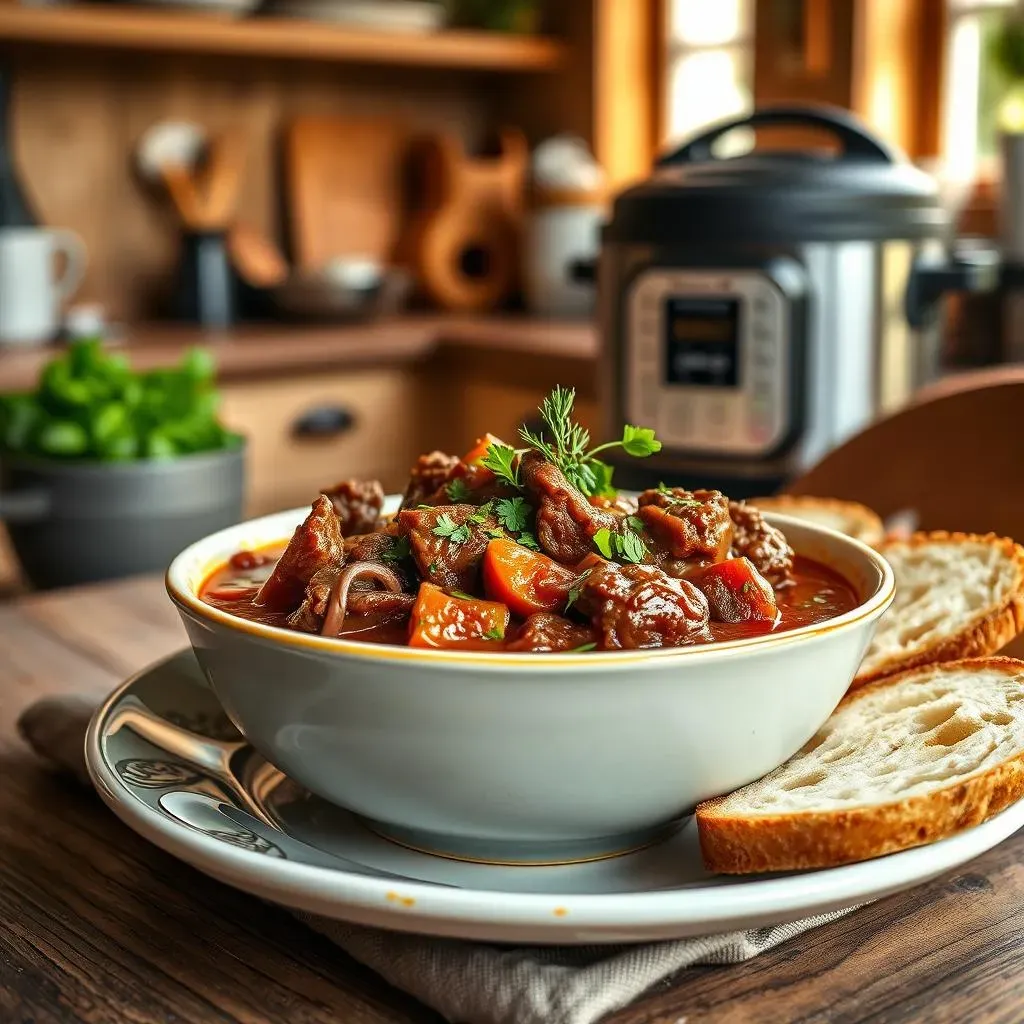
Ever wished for a warm, comforting meal without spending hours in the kitchen? I've been there, staring at a pile of veggies and a hunk of beef, wondering how to make it all magically delicious. That's where the Instant Pot swoops in like a superhero! Forget those long, simmering stovetop sessions. We're about to unlock the secret to incredibly tasty and, yes, even healthy instant pot stew recipes. This isn't just any stew; it's a flavor-packed, nutrient-rich experience, all thanks to the magic of pressure cooking. I'm going to guide you through my tried-and-true method, sharing tips to make sure your beef is melt-in-your-mouth tender, and your veggies are bursting with flavor. We’ll cover everything from the best ingredients to use to how to store any leftovers (if you have any!). Get ready to transform your dinner routine with this easy and satisfying healthy instant pot stew recipes. Let's get cooking!
Tips for the Best Healthy Instant Pot Beef Stew
Tips for the Best Healthy Instant Pot Beef Stew
The Secret is in the Sear
Okay, let's get real. You might be tempted to just toss everything into the Instant Pot and hit start. Don't do it! Browning your beef is a total game-changer. This step creates a delicious, flavorful crust that adds depth to the entire stew. Think of it like building the foundation of a flavor skyscraper. Don't overcrowd the pot; work in batches, and make sure you get a nice, deep brown color on all sides. It's worth the extra few minutes, I promise you.
And here's a little pro tip: don't be shy with the seasoning! Salt and pepper are your best friends here. Season the beef generously before you sear it. This helps to develop the flavor and ensures that the meat is seasoned all the way through. Imagine you're giving each piece of beef a little flavor hug before it goes into the pot. Trust me, your taste buds will thank you later.
Veggie Variety is Key
Now, let’s talk about the vegetable crew. Don't just stick to the basics. I like using a mix of root veggies like carrots and potatoes, but I also like to add mushrooms for an umami punch. You can also sneak in some celery for extra depth. The more variety you have, the more complex and interesting your stew will taste. It's like adding different colors to a painting, making it more vibrant and exciting.
Also, don't be afraid to get creative with your veggies. You can use different colored carrots, like purple or yellow, or try adding parsnips for a subtle sweetness. And here's a little secret: I like to add my veggies in layers. The heartier ones, like carrots and potatoes, go in first, and then I add the more delicate ones, like mushrooms and peas, later in the cooking process. This way, everything cooks perfectly without getting mushy.
Tip | Why It Works |
|---|---|
Sear the Beef | Develops a rich, flavorful crust. |
Season Generously | Enhances the overall taste of the stew. |
Mix Veggies | Adds complexity and nutrients. |
Layer Veggies | Ensures even cooking and prevents mushiness. |
How to Make a Delicious and Healthy Instant Pot Beef Stew
How to Make a Delicious and Healthy Instant Pot Beef Stew
Building the Flavor Base
Alright, let's get this stew started! Once your beef is nicely seared, it's time to create the flavor base. Don't clean out the pot after searing the beef; those browned bits are pure gold! Add your chopped onions and garlic to the pot and sauté them until they're soft and fragrant. This usually takes about 3-5 minutes. The smell alone will make you feel like a culinary genius. This step is crucial because it builds a foundation of flavor that will permeate the entire stew. Think of it as waking up all the flavors in the pot before you add the rest of the ingredients.
Now, it's time to deglaze the pot. Pour in some beef broth and use a wooden spoon or spatula to scrape up all those delicious browned bits from the bottom of the pot. This is where all that seared flavor is hiding, and you don't want to leave it behind. Deglazing not only adds flavor but also prevents the dreaded "burn" notice on your Instant Pot. It’s like giving your stew a flavorful bath, and trust me, it’ll thank you for it. Make sure you get all those little bits off the bottom; they're the secret to a rich and complex stew.
Layering the Ingredients
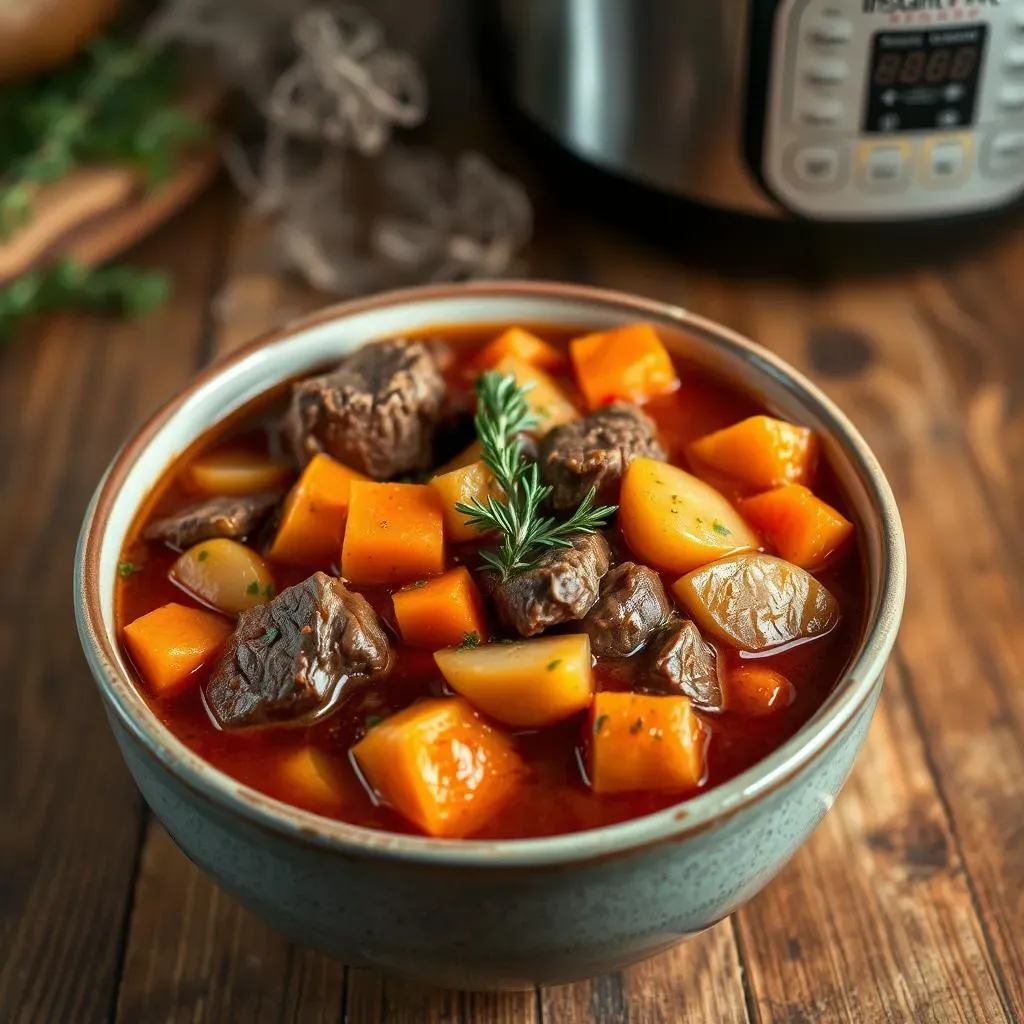
Once you’ve deglazed, it’s time to layer in the rest of your ingredients. Add the seared beef back into the pot, followed by your carrots, potatoes, and any other root vegetables you're using. I like to tuck in a bay leaf for an extra layer of aroma, and a dash of Worcestershire sauce for a savory kick. Don’t forget the thyme; it adds a lovely earthy note to the stew. It's like creating a little flavor party in your Instant Pot, with each ingredient bringing its unique personality to the mix.
Next, pour in the tomato sauce and the rest of your beef broth, making sure all the ingredients are mostly submerged. You don’t want it to be too watery, but you also don’t want it to be too dry. A good rule of thumb is to have just enough liquid to cover the veggies and meat. Now, it's time to seal the lid and let the magic happen. It's like tucking your stew into bed for a cozy nap, and when it wakes up, it will be absolutely delicious.
Step | Action |
|---|---|
Sauté Aromatics | Cook onions and garlic until fragrant. |
Deglaze | Scrape up browned bits with broth. |
Layer Ingredients | Add beef, veggies, herbs, and sauces. |
Pressure Cook | Seal the lid and let it cook. |
The Pressure Cooking Process
Now, for the main event: pressure cooking. Set your Instant Pot to the "manual" or "pressure cook" setting and set the timer for 35 minutes. Once the cooking cycle is complete, let the pressure release naturally for 10 minutes. This natural release is important because it allows the stew to continue cooking and develop its flavors. It's like letting the stew rest and relax after its hard work, and it makes a huge difference in the final taste and texture. After the natural release, you can manually release any remaining pressure. Be careful when you do this, as the steam will be hot!
Once the pressure is released, open the lid and behold your perfectly cooked stew! The beef should be incredibly tender, and the veggies should be soft and flavorful. Now, give it a good stir and taste it. This is your chance to adjust the seasoning if needed. Add a little more salt, pepper, or even a splash of lemon juice to brighten it up. It's like putting the finishing touches on a masterpiece, and you're the artist. Now, it's time to serve up this deliciousness and enjoy the fruits of your labor. You did it!
Serving and Storing Your Healthy Instant Pot Stew Recipes
Serving and Storing Your Healthy Instant Pot Stew Recipes
Serving Suggestions
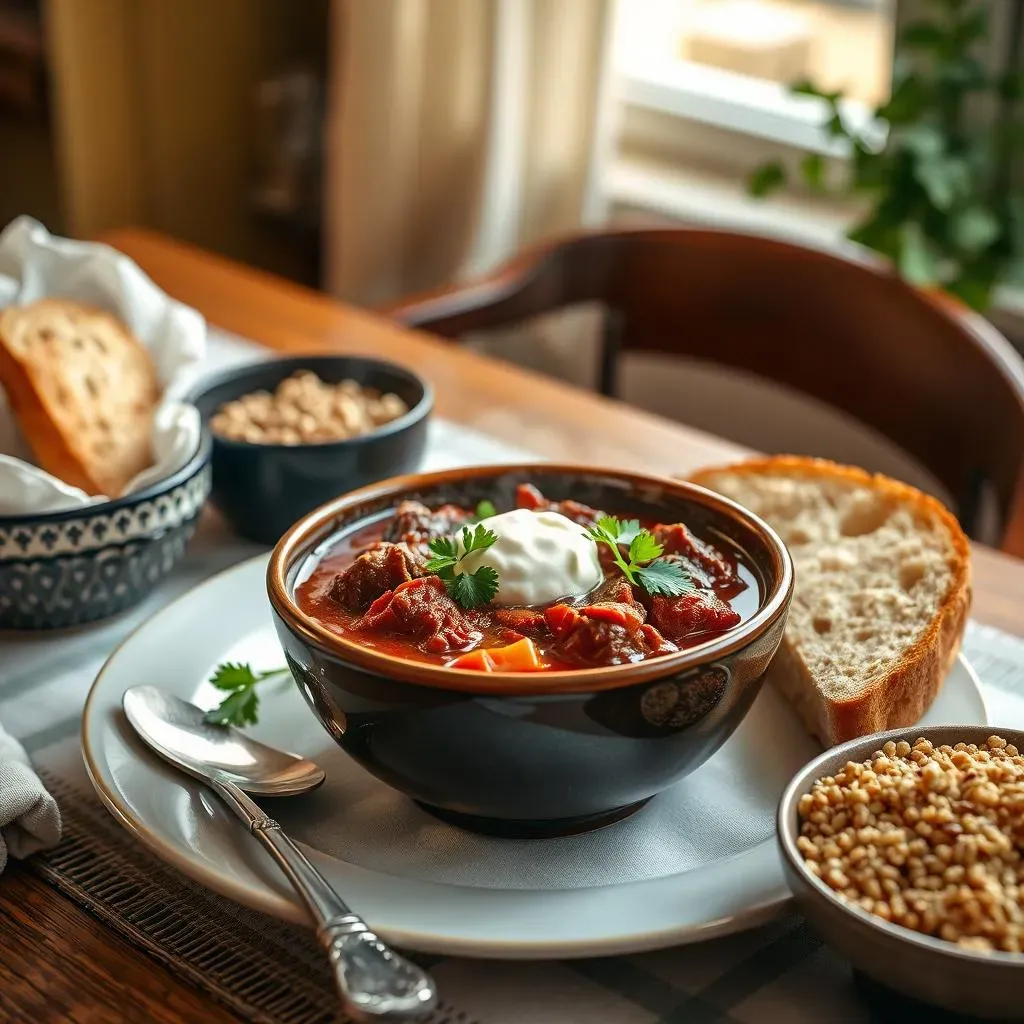
Alright, your kitchen smells amazing, and that stew is calling your name! Now, let's talk about serving up this deliciousness. I love to ladle the stew into bowls and garnish it with a sprinkle of fresh parsley or rosemary. It adds a pop of color and a little extra freshness. If you're feeling fancy, a dollop of Greek yogurt or a swirl of olive oil can also be a nice touch. It's like giving your stew a final little makeover before it goes to the table. And don't forget some crusty bread or a side of quinoa to soak up all that delicious broth! It really completes the meal and makes it even more satisfying.
And here's a little tip: warm up your bowls before you serve the stew. This helps to keep the stew nice and hot for longer. You can do this by running them under warm water or placing them in a low oven for a few minutes. It's like giving your stew a cozy home to settle into. It also elevates the whole dining experience and makes it feel a bit more special. Plus, who doesn't love a warm bowl on a chilly evening?
Wine Pairing
If you're looking to take your meal to the next level, a good wine pairing can make all the difference. For this hearty beef stew, I recommend a full-bodied red wine, like a Cabernet Sauvignon or a Merlot. The rich, robust flavors of the wine complement the savory notes of the stew beautifully. It’s like creating a perfect symphony of flavors in your mouth. Don't be afraid to experiment and find your favorite pairing. Sometimes, a lighter-bodied red, like a Pinot Noir, can also work well, especially if your stew has a lot of herbs and vegetables. It's all about finding what you enjoy and what enhances the overall dining experience.
And here's a little tip: don't overthink it. The most important thing is to choose a wine that you enjoy and that you think will go well with the flavors of the stew. You don't need to be a wine expert to find a good pairing; it's all about having fun and trying new things. Sometimes, the best pairings are the ones you least expect. So, grab a bottle, pour a glass, and get ready to enjoy a delicious meal and a great wine pairing!
Serving Tip | Why it Matters |
|---|---|
Fresh Herbs | Adds color and freshness. |
Warm Bowls | Keeps stew hot longer. |
Crusty Bread or Quinoa | Soaks up the delicious broth. |
Full-Bodied Red Wine | Complements the rich flavors. |
Storage and Reheating
Okay, so maybe you made a little too much stew (or maybe you just want to enjoy it again later). No problem! This stew stores beautifully. Let it cool completely, then transfer it to airtight containers. You can store it in the fridge for up to 4 days. When you're ready to reheat it, you can do so on the stovetop over medium heat, or in the microwave. Just make sure to heat it thoroughly until it's piping hot. It’s like having a delicious meal waiting for you whenever you need it.
And here's a little secret: this stew actually tastes even better the next day! The flavors have had time to meld together and deepen. It's like the stew is taking a little nap and waking up even more delicious. If you want to freeze it, that's also totally doable. Just make sure to use freezer-safe containers or bags. You can freeze it for up to 3 months. When you're ready to eat it, thaw it in the fridge overnight, and then reheat it as you normally would. It's like having a delicious, homemade meal on hand whenever you need it. So, don't be afraid to make a big batch; you can enjoy it for days!