Table of Contents
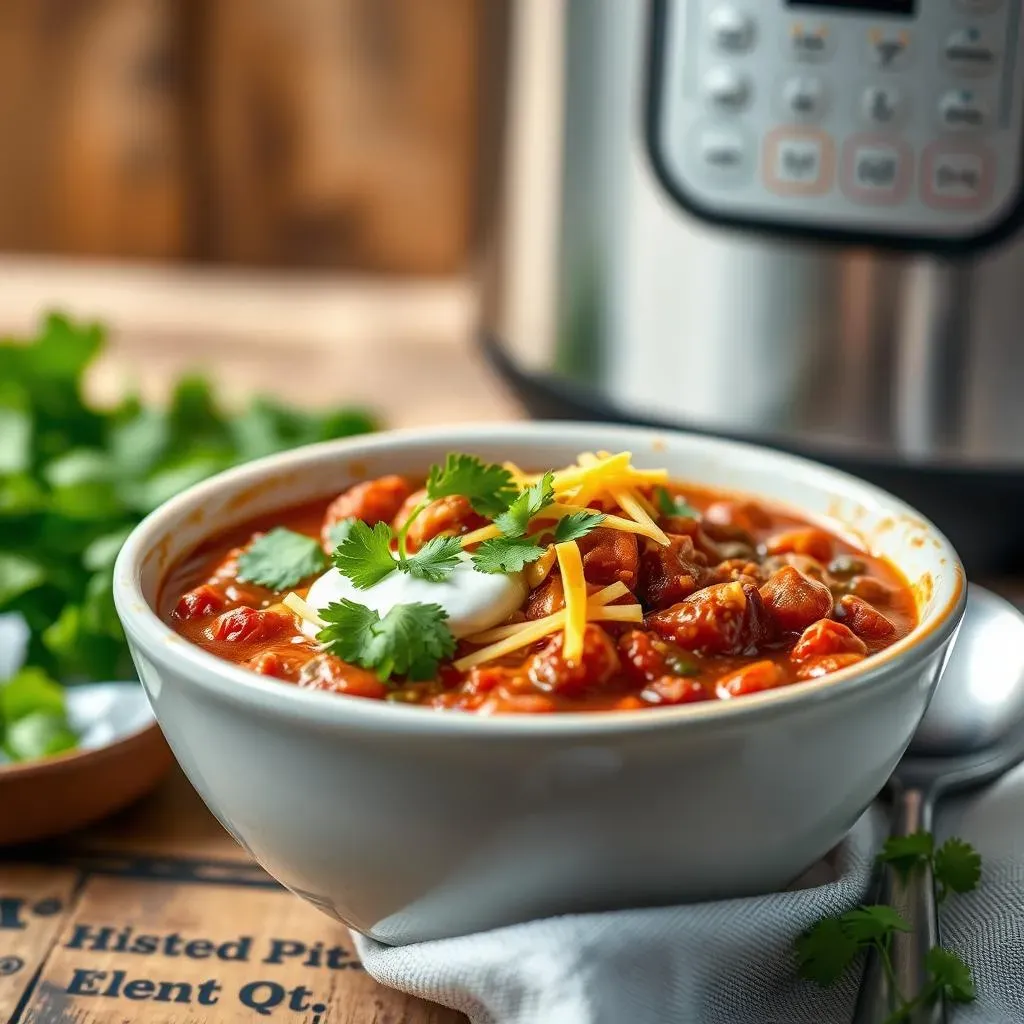
Okay, let's be real. Sometimes, cooking feels like a chore, right? You're hungry, maybe a little tired, and the thought of spending hours in the kitchen? Nope. That's where the magic of the Instant Pot comes in, especially when we're talking about healthy instant pot chili recipes. Forget slaving over a hot stove; we're about to unlock the secrets to making a chili that's not only good for you but also incredibly easy and fast. This isn't your grandma’s all-day simmered chili, it's the modern, healthy, and quick version that fits into our busy lives. We’ll explore how to make this delicious meal, share some killer tips to make it even better, and discuss how to keep it fresh for days. So, if you're ready to ditch the takeout and embrace a healthier, easier way to enjoy a hearty bowl of chili, you’re in the right place. Let’s get cooking!
Why Healthy Instant Pot Chili is a Game Changer
Why Healthy Instant Pot Chili is a Game Changer
Okay, so why is healthy Instant Pot chili such a big deal? Well, think about it: you get a meal that's packed with good stuff—veggies, lean protein, and fiber—all cooked in a fraction of the time it would take on the stove. We're talking about swapping hours of simmering for minutes of pressure cooking. It's like having a superhero in your kitchen, saving you from both hunger and endless cooking sessions. Plus, it's a one-pot wonder, meaning less mess to clean up. And let’s not forget, when you cook at home, you control exactly what goes into your food, ditching all that extra salt and mystery ingredients found in canned stuff. This isn't just convenient; it's a game changer for anyone looking to eat well without spending their entire evening in the kitchen.
Crafting Your Perfect Healthy Instant Pot Chili
Crafting Your Perfect Healthy Instant Pot Chili
Choosing Your Base: Lean Proteins and Veggies
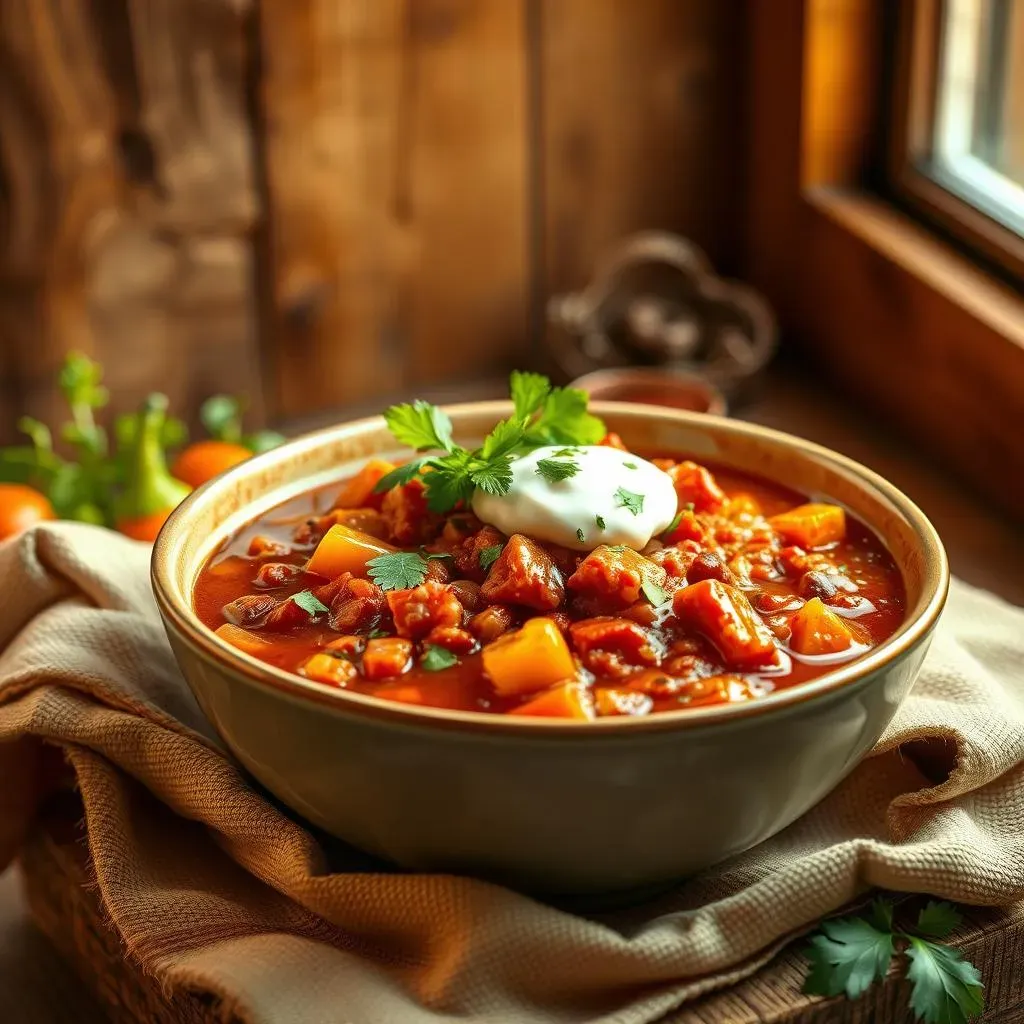
Alright, let’s get down to the nitty-gritty. The foundation of any great chili is a solid base, and when we're aiming for "healthy," we gotta be smart about it. Ground turkey or chicken is a fantastic choice, lean and packed with protein, but don’t be afraid to experiment with plant-based options like lentils or black beans for an extra fiber punch. And veggies? Load 'em up! Onions, peppers, and garlic are the usual suspects, but don’t stop there. Sweet potatoes, zucchini, even finely chopped carrots add bulk and nutrients without compromising flavor. Think of your chili like a blank canvas – the more colors and textures you add, the richer the final masterpiece.
Spice it Up: Flavor is King
Now, let's talk about the soul of chili – the spices. This is where things get personal, so don’t hold back. Chili powder, cumin, and smoked paprika are your best friends here, but don’t be afraid to venture into uncharted territory with a pinch of cayenne for some heat or a dash of oregano for an earthy note. And while you’re at it, consider adding a bit of cocoa powder; it might sound weird, but it deepens the flavor and adds a subtle richness that’ll have everyone asking for seconds. Remember, the key is to start with less and add more until you hit that perfect balance. It's like being a DJ, mixing beats until the whole track grooves.
"The best way to learn is by doing. Don't be afraid to experiment with your chili. It's your personal creation!" - Chef Ramirez
The Instant Pot Magic: Layering and Timing
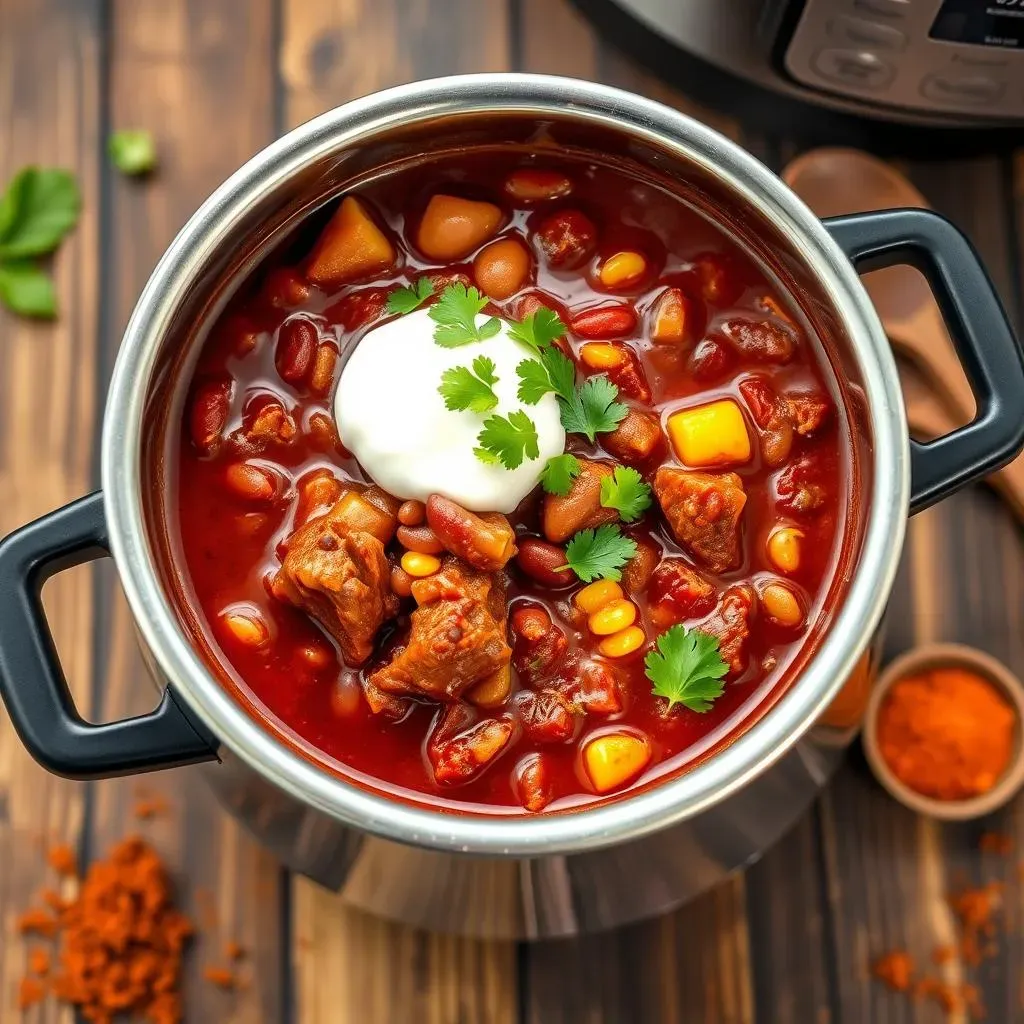
Finally, let's get to the Instant Pot part. The key here is layering. Start by sautéing your onions and garlic right in the pot, then add your protein and brown it. Next, toss in your spices and let them bloom for a minute or two, releasing their full flavor. Then, dump in your veggies, beans, and diced tomatoes. Finally, pour in your broth or water. Now, for the magic number: about 15-20 minutes on high pressure, followed by a natural release for about 10 minutes. This ensures everything cooks evenly and the flavors have time to meld. It’s like creating a symphony, each element playing its part to create a harmonious dish.
Ingredient | Quantity | Notes |
|---|---|---|
Ground Turkey | 1 lb | Can substitute with chicken or lentils |
Onion | 1 medium | Chopped |
Bell Peppers | 2 medium | Any color, chopped |
Garlic | 2 cloves | Minced |
Chili Powder | 2 tbsp | Adjust to taste |
Cumin | 1 tsp | Ground |
Tips for the Best Healthy Instant Pot Chili Recipes
Tips for the Best Healthy Instant Pot Chili Recipes
Mastering the Sauté: Flavor First
Okay, let’s talk about getting the most flavor out of your chili. Don’t skip the sauté step! I know, it's tempting to just throw everything into the pot and press start, but trust me, taking a few minutes to sauté your onions, garlic, and spices in a little olive oil makes a huge difference. It's like waking up the flavors; the heat helps release their aromas and creates a deeper, richer base for your chili. Think of it as laying down the first layer of paint on a canvas. It might seem small, but it sets the stage for everything else. And don't be shy with the spices – let them sizzle for a minute, just until they smell amazing, before adding the rest of your ingredients. That's where the magic truly happens.
Another tip? Don't overcrowd the pot when you're sautéing. If you have too much in there, it'll steam instead of sauté, and you won't get that nice browning and flavor development. It's better to do it in batches or use a bigger pot if needed. Remember, we're not just cooking, we're building flavor!
Liquid Gold: Broth and Beyond
Now, let's talk liquid. While water can work in a pinch, using a good quality broth is a total game changer. Chicken, vegetable, or even beef broth can add layers of flavor that water just can't match. And here's a pro tip: don’t be afraid to experiment. A splash of red wine or even a can of diced tomatoes with their juices can elevate your chili to new heights. It’s like adding a secret ingredient that makes everyone wonder, "What's your secret?". The key is to add just enough liquid to ensure everything cooks properly without ending up with a watery mess. You're aiming for a thick, hearty chili, not a soup.
Also, consider the consistency. If you like a thicker chili, you can add a tablespoon of cornstarch or a bit of masa harina (corn flour) mixed with a little cold water after cooking. Just stir it in and let it simmer for a few minutes until it thickens up. It’s like adding the final brushstroke to a masterpiece, bringing everything together perfectly.
Tip | Why it Matters |
|---|---|
Sauté First | Releases flavors for a deeper base |
Use Broth | Adds more flavor than water |
Don't Overcrowd | Ensures proper browning |
Adjust Liquid | Achieve the right consistency |
Experiment | Find your unique flavor |
Serving and Storing Your Healthy Instant Pot Chili
Serving and Storing Your Healthy Instant Pot Chili
Serving Suggestions: Make it a Feast
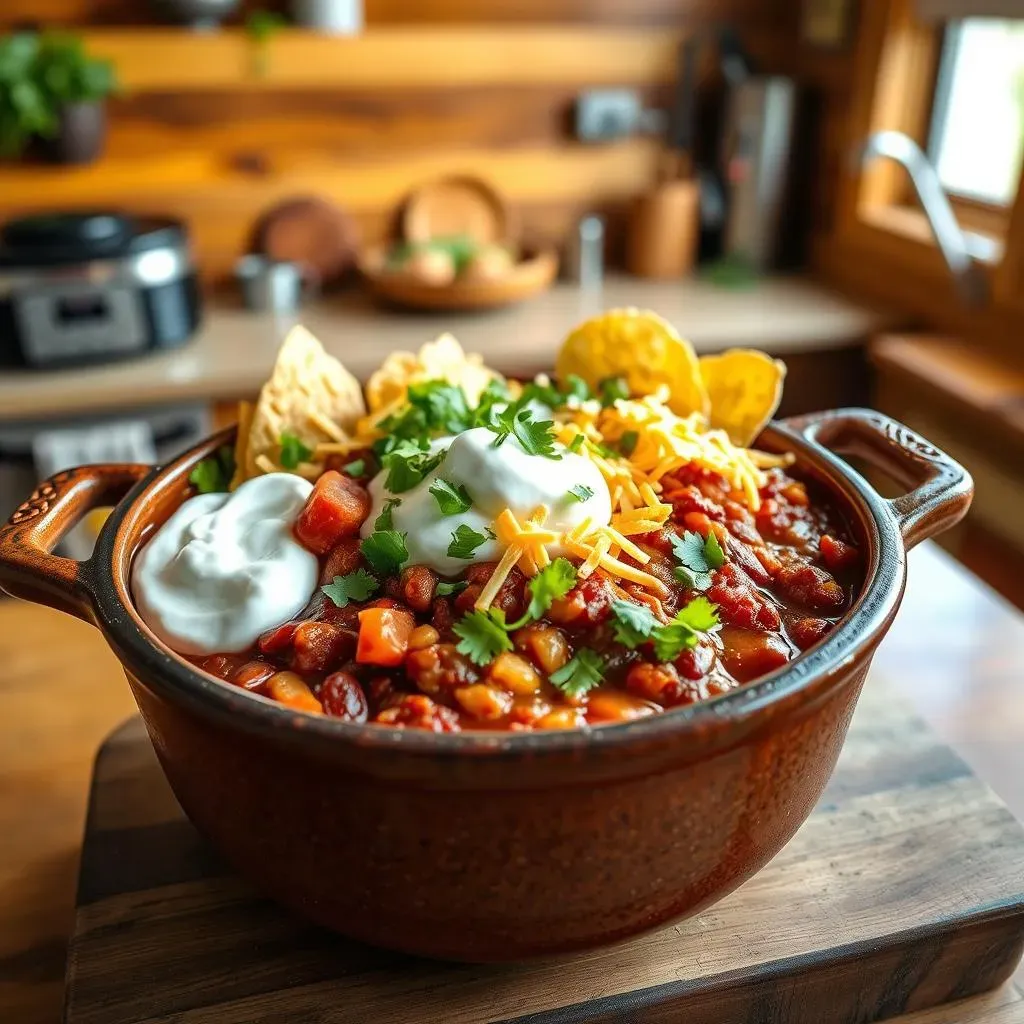
Alright, you've made this amazing chili, now what? Don't just plop it into a bowl and call it a day! Think of serving as an opportunity to elevate your chili experience. A dollop of Greek yogurt or a sprinkle of shredded cheese can add a creamy touch. Fresh cilantro or green onions bring a burst of freshness, and a squeeze of lime adds a zing. If you're feeling adventurous, try adding some avocado for richness, or a few crushed tortilla chips for a bit of crunch. It's all about layering flavors and textures, turning a simple bowl of chili into a culinary masterpiece. Think of it like accessorizing an outfit – the right additions can transform the whole look.
And let's not forget the sides! A warm piece of cornbread is a classic pairing, but a side salad or some roasted sweet potatoes can also be a great complement. The key is to balance the richness of the chili with some lighter options. It's like creating a symphony, where each instrument plays its part to create a harmonious sound. So, don’t be afraid to get creative and customize your chili to your own taste. The goal is to make every bite a delightful experience.
Storing Your Chili: Keeping it Fresh
Okay, so you’ve enjoyed your chili, and maybe you've got some leftovers – lucky you! Now, let's talk storage. The key is to cool it down quickly and store it properly. Once your chili has cooled down a bit, transfer it to airtight containers. This will help to keep it fresh and prevent any unwanted odors from seeping in. I always say, treat your chili like a precious gem – keep it safe and sound. For the fridge, it’ll last for about 3-4 days, perfect for a quick lunch or dinner later in the week. And if you’re planning on keeping it longer, freezing is the way to go. Just make sure to label and date your containers so you know what’s what. It's all about being organized, like a well-oiled machine.
Freezing chili is a great way to meal prep for those busy weeks. Portion it out into individual containers, or freezer bags, and you'll have a quick and easy meal ready whenever you need it. And don't worry, chili freezes beautifully and it tastes just as good when reheated, maybe even better after the flavors had time to meld together even more. It's like having a secret stash of deliciousness waiting for you whenever you need a comforting meal. Reheating is a breeze too, you can do it on the stovetop or in the microwave. Just make sure to thaw it out completely before reheating for the best results.
Reheating Tips: Back to Delicious
Alright, you've got your perfectly stored chili, now it’s time to bring it back to life! Reheating is an art, not a science, but there are a few tricks that can help you maintain its deliciousness. If you're using the stovetop, add a little bit of broth or water to the pot to prevent it from sticking to the bottom and burning, and heat it over low to medium heat, stirring occasionally. This allows the chili to heat up evenly and prevents any scorched spots. And if you’re in a hurry, the microwave is your best friend, just make sure you’re using a microwave-safe dish. Heat it in intervals, stirring in between, to ensure that it warms up uniformly. It's like giving your chili a second chance to shine.
Now, if your chili seems a little thick after reheating, don’t worry! Just add a splash of broth or water to loosen it up to your preferred consistency. And if you want to add a bit of extra flavor, consider adding a pinch of fresh herbs or a squeeze of lime juice right before serving. These little touches can make a big difference. It’s like giving your chili a final touch of magic, bringing it back to its full potential. And remember, always taste and adjust your seasonings before serving, because sometimes, a little extra salt or pepper is all it takes to make it perfect. It's all about that final flourish, making sure your chili is just as good, if not better, the second time around.
Serving Tip | Why it Works |
|---|---|
Greek Yogurt/Cheese | Adds creaminess |
Fresh Herbs | Adds freshness |
Avocado | Adds richness |
Tortilla Chips | Adds crunch |
Storage Tip | Why it Works |
Airtight Containers | Keeps chili fresh |
Label and Date | Track storage time |
Freeze in Portions | Easy meal prep |
Reheating Tip | Why it Works |
Add Liquid | Prevents burning |
Microwave in Intervals | Ensures even heating |
Taste and Adjust | Perfect final flavor |